
Knowledge base · Design support
Packaging design services - what to send before a dieline is built.
Most packaging delays happen before artwork review starts. Buyers ask for a dieline, but the design team still needs the packed product size, pack-out method, print constraints, and approval target before the structure can be drawn correctly.
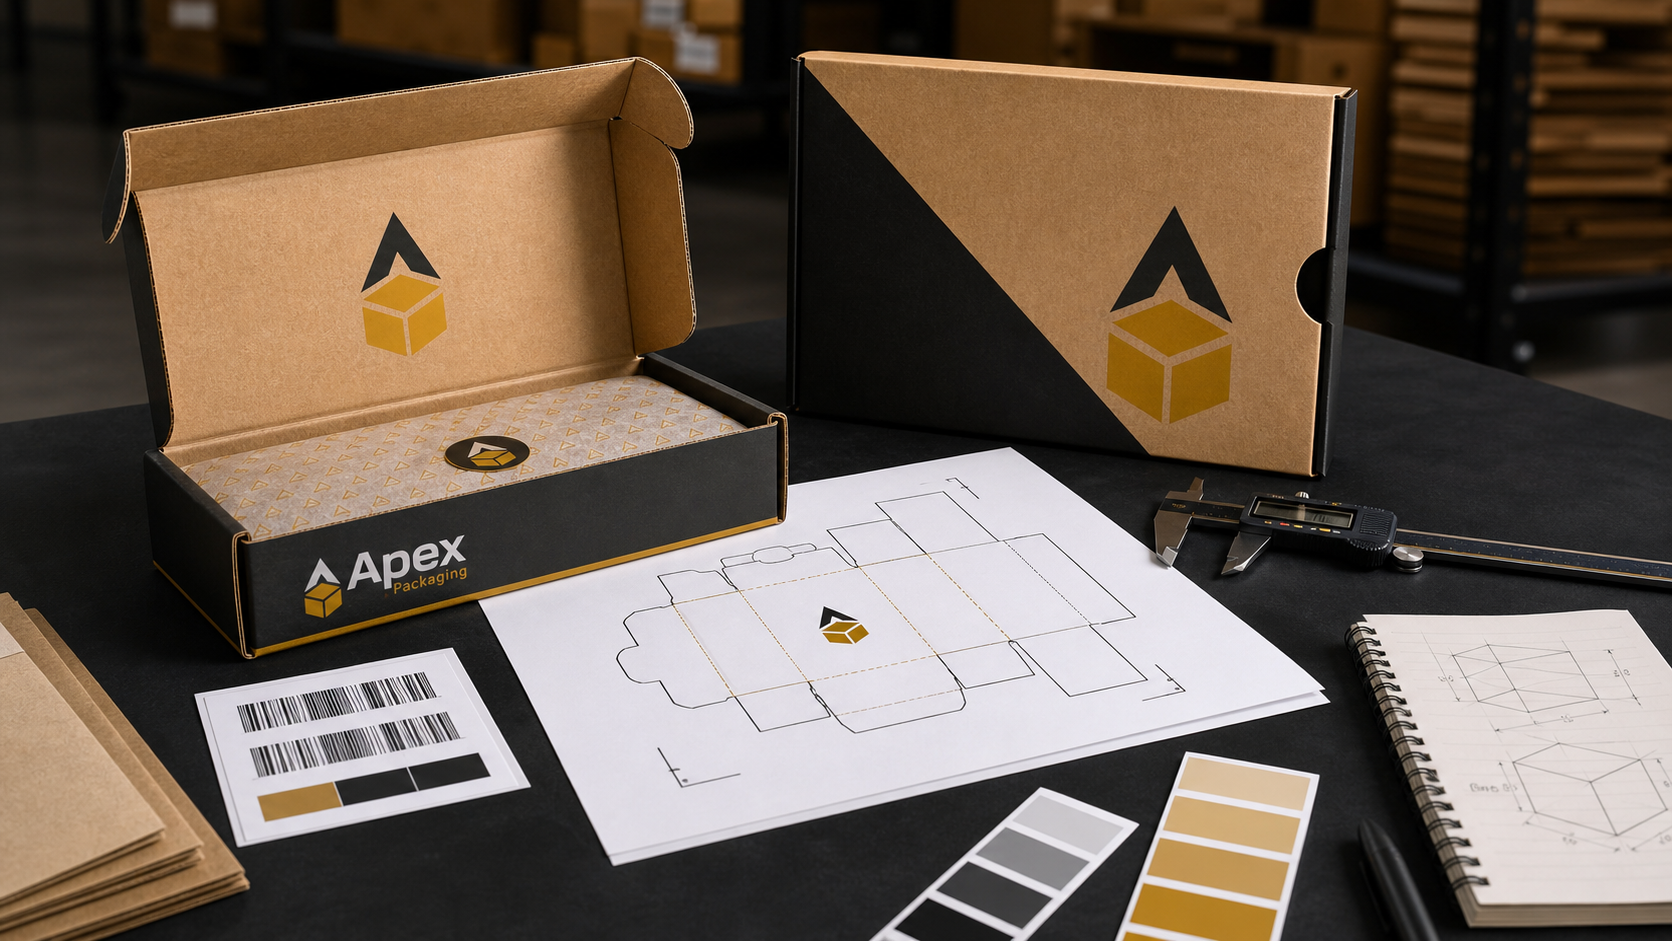
Packaging design services work best when the buyer sends a real production brief instead of a short note asking for a dieline. A structural designer can draw a box quickly, but a production-ready dieline needs more than length, width, and height. It needs the packed product dimensions, the way the item will sit inside the box, what printing or labels must land on the panels, and whether the first run is a fast sample or a repeat production program.
Apex Packaging Solutions helps buyers move from idea to manufacturable packaging through dielines, artwork checks, structural design, and 3D mockups. Whether the end format is a custom mailer box, a corrugated shipper, or a more specialized protective pack, the quality of the first information package usually determines how many revision cycles the project needs.
Start with the packed product, not the product by itself
The most common error in packaging RFQs is sending the naked product size instead of the packed size. A designer needs to know what will actually go inside the box at the moment it is packed. That can include an inner polybag, tissue, instruction sheet, barcode label, foam pad, corrugated insert, tamper seal, or retail sleeve. If those layers are added after the first dieline is drawn, the project often comes back for another round because the cavity is too tight or the flaps no longer close cleanly.
This matters even more for ecommerce kits and launch packaging. A bottle, cap, carton, and insert may all fit on paper, but small tolerance misses become expensive once the print file has already been approved. The practical rule is simple: measure the product in its packed condition, then build the dieline around that version.
The six inputs a design team needs before drawing
If the goal is to get from brief to dieline without avoidable rework, send these details first:
| Input | Why it matters | What goes wrong if it is missing |
|---|---|---|
| Packed product dimensions | Sets the cavity, panel size, and closure allowance | Box fit fails after inserts or sleeves are added |
| Product weight and fragility | Guides board grade, insert need, and opening style | Structure is underbuilt or overbuilt |
| Target box style | Determines locking tabs, glue areas, and tooling approach | Designer draws the wrong format for the pack line |
| Print and label constraints | Protects barcode zones, bleed, and panel hierarchy | Artwork conflicts with folds, seams, or mandatory labels |
| Quantity and reorder intent | Helps balance low-MOQ practicality against customization | Structure is designed without regard to production economics |
| Approval deadline | Sets whether the project needs a fast sample path | Team assumes there is time for revisions that do not exist |
These inputs do not need to be perfectly polished. They do need to be complete enough to tell the design team what the package is supposed to do. If you already know the target material, finish, or sustainability requirement, include that too. It helps align the structural path with the production path instead of treating them as separate decisions.
What the designer does with your brief
Buyers sometimes think a dieline is just a flat drawing. In practice, it is a production map. The designer uses your dimensions to create panel sizes, dust flaps, locking tabs, glue zones, thumb cuts, barcode-safe areas, and fold logic that can actually run in manufacturing. If the project includes custom print, the structure also needs to leave enough space for bleed, trim tolerance, and any mandatory copy that cannot cross a score line.
That is why a strong design brief reduces more than revision count. It also improves quote accuracy. The team can tell earlier whether the right answer is a standard shipper, a custom die-cut mailer, or a format that needs protective inserts or cushioning from the start. When the structure and protection strategy are decided together, the mockup stage becomes more useful because it reflects the real production intent.
Send references, but label what is functional and what is aesthetic
Reference photos help, but only if the supplier knows what you want to copy. If you send three competitor boxes, explain whether you like the opening style, the fit, the print finish, or only the general presentation. Many briefs fail because the design team is forced to guess whether the reference is structural guidance or visual inspiration.
A practical note attached to each image is enough: "like this tuck-front closure," "need this insert behavior," or "do not want this much empty space around the product." That small step can remove an entire revision round because the designer is not reverse-engineering the brief from screenshots alone.
When a sample should come before final artwork
Not every packaging project needs a physical sample before print approval, but many do. Sampling is usually worth it when the item is fragile, the insert fit is tight, the box has a non-standard closure, or the first order carries a premium brand launch. A digital mockup can show how the artwork sits on the panels. It cannot always confirm how fast the package assembles, whether the product shifts in transit, or whether the customer experience still feels correct once the real board is folded.
This is especially relevant for buyers moving from a stock shipper into a more branded program. The article on custom mailer boxes for ecommerce goes deeper on low-MOQ mailer decisions, but the same principle applies here: sample when fit, protection, or launch timing matters more than saving a small amount on pre-production work.
The easiest RFQ format is a one-page packaging brief
You do not need a complicated document to start design support. In most cases, one clean page is enough. Include the packed dimensions, product weight, quantity, target launch date, box style if known, print scope, barcode or regulatory label requirements, delivery postal code, and any photos of the current pack. If the design must support a specific warehouse process, say that too. A box that looks good in a render can still fail operationally if it slows assembly or forces hand-applied relabeling.
The objective is not to make the brief look formal. It is to prevent hidden assumptions. Once the design team has the right inputs, it can turn the brief into a dieline, mockup, and sample path that supports both pricing and production. If your team is trying to shorten the time between concept and quote, the highest-leverage move is usually not better artwork. It is sending a better first brief.
Related
Send the packaging brief before asking for a dieline.
Packed dimensions, weight, style target, and print constraints are usually enough to start a clean design-support workflow.